Frequency of Ski & Snowboard Maintenance
You best give your skis or a snowboard a care whenever you get back from a skiing trip. This will prevent base drying or turning grey and edge rusting. When you fish out of your closet a used board or skis which you dumped there after a trip without doing at least basic maintenance, you will see what’s the deal. Timely maintenance preserve your skis and slow down usual wear and tear – otherwise the edges of neglected skis or board need to be filed hard to be stripped of rust, the base convex in consequence has to be flattened. Moreover, once dried or burnt base (upon used unwaxed) never retrieves its original ability to absorb wax. If you take a proper care of your gear upon its use you will avoid stress coming with looking for a ski service just before a leave for another skiing trip, your skis or snowboard will be ready to be used whenever you make up your mind to go.
Ski & Snowboard Fix
Ski & snowboard maintenance, edge tuning in particular, requires proper (and fast) fix, both in horizontal and vertical position, or at 60° if need be. For that purpose there are used special pro vises for Alpine and Nordic skis or snowboard. Alpine ski vises allow to fix skis under the binding, snowboards vises are more heavy-duty and wider, XC skis requires special adapters or profiles.
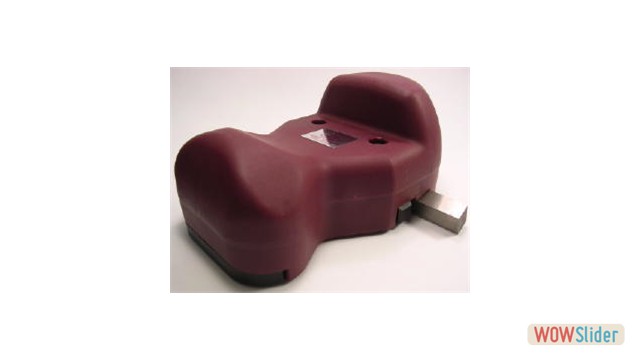
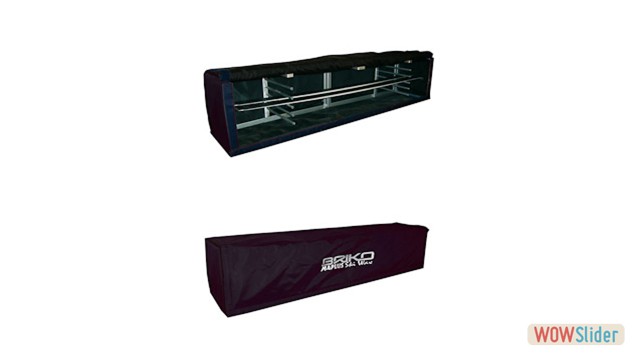
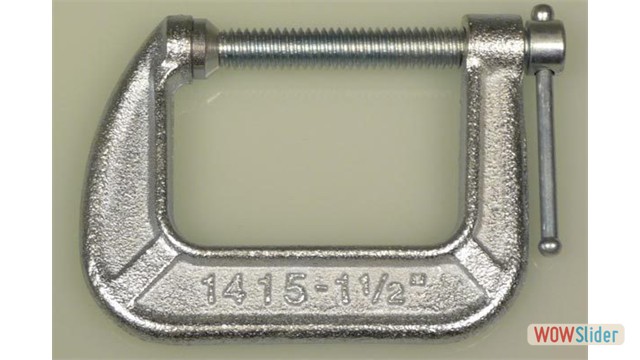
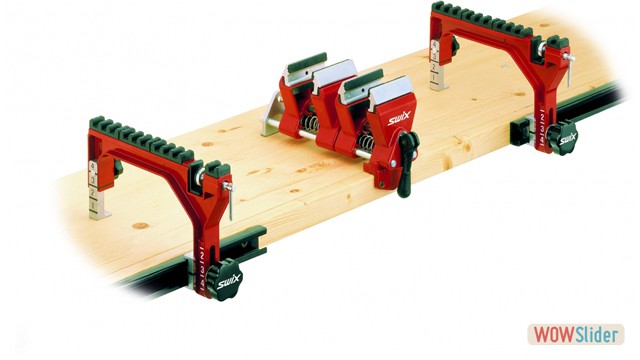 Work Shop Vise


Base Cleaning and Preparation
Before ski or snowboard base flattening you need to remove an old wax from the base, otherwise the stone grit will be clogged with the wax and will not eat base. To do it you might use a liquid wax remover and non-woven fabrics towels (fiberlene). Alternatively for the remover application we can use fine (orange) fibertex which opens base pores and makes wax absorption more efficient.
Since the wax remover might dry a base a little we might prefer hot wax cleaning which is taken as more sensitive to a ski base. Base is hot waxed with base prep wax (universal paraffin) and then scraped off while the ski is still hot. This procedure should be repeated until you detect no dirt in the scraped off wax. Base is then brushed by a brass brush in order to remove the rest of the wax as well as to open base pores for increasing wax absorption. As an alternative we can use a fine nylon orange fibertex (mentioned above) or a medium coarse aluminum oxide fibertex pad (purple), which takes care of refereshing neglected, oxidized bases and improves wax absorption as well.
Such a base cleaning is performed always before new waxing.
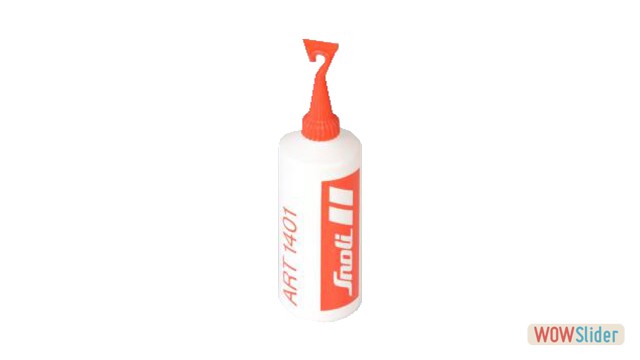
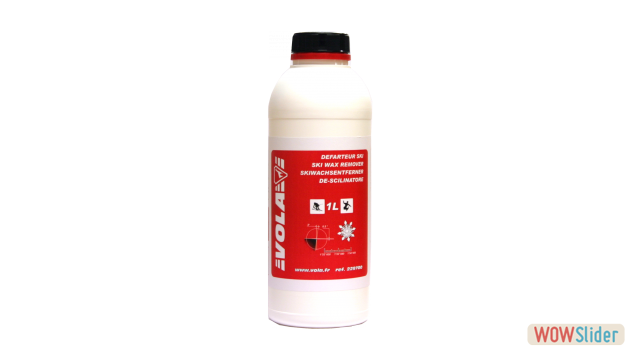 Liquid Wax Remover 1l Alpin


Base Flattening
Placing a true bar (flatness tester) across ski or snowboard base and edges we can check its flatness. As long as edges are higher than a base, the base is so called concave, your ski (snowboard) tends to catch unxpectedly and the gear is hard to handle. On the contrary, the base which is higher than edges, so called convex base , causes that we have to struggle to carve.
We might flatten a concave base with the help of a special file flattener tailored to cut through metal and plastic quickly.
A convex base is flattened by a hard aluminum oxide stone of different grit (ski base flattener). Then we switch over to a hardened steel bar which shaves off unwnated p-tex hairs or microhairs or removes oxidized p-tex areas. To complete this job it is convenient to polish the base with the fine (orange) fibertex. This abrasive nylon pad is the handy tool for gentle deburring or refreshing the bases as well as for treating new pair skis or a snowboard.
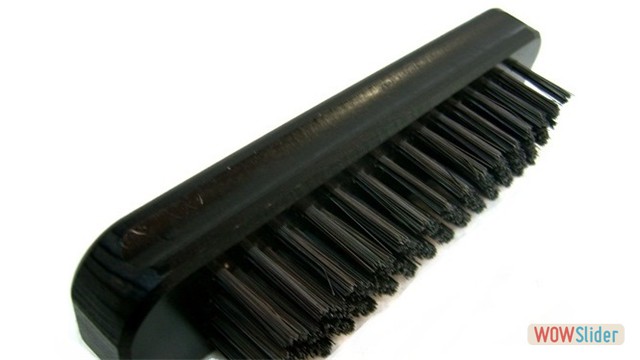
 Ski Base Flattener & Structure Tool


Base Structuring
True hard alu-oxide grinding stones used for base flattening while being applied leave behind a basic, permanent structure, either fine or medium coarse, which is suitable for the snow condition at the turn of fall and winter as well as for mid-winter (new snow, low temperatures), or a coarse structure, fitting the snow conditions which rule at the turn of winter and spring (wet snow, milder winter climate).
Stone flattening and structuring is usually performed once a year, before the skiing season. Permanent medium coarse structure applied improves gliding conditions of skis or a snowboard and facilitates handling them.
If there’s fresh, dry snow on slopes, or it’s overfrozen (technical), during the friction (glide) there’s not formed enough water under a ski or a board. Appropriate amount of water and glide improvement under such conditions could be achieved through a fine structure put on a ski base , of course, along with proper hot waxing. Contrary to it, wet spring snow leaves under a ski or a board escessive amount of water and the skis without a structure or convenient wax creates no glide but suction. To prevent such a suction there’s applied a coarse structure which works for the skis or the snowboard like winter tire pattern.
 Ski Base Flattener & Structure Tool


Final Base Structure
As mentioned above, applied base structure makes skis or a snowboard handling easier. Besides, right structure adds up to skier’s or snowboarder’s style or technique. To achieve it we apply variety of structures, which differ not just by their coarseness measure but also by their pattern. For example straight, fast downhill skiing is in accordance with linear structures, a slalom racer kind of skier would appreciate rather diagonal or cross (cross-hatch) structures. It works for Nordic skiing alike. Classic cross-country skiers choose a finer, linear structure or a broken linear V-structure, unlike skaters who might prefer cross or screw structures.
This final structure is applied by steel rollers of different coarseness and pattern. Inserted in a handy tool they imprint fitting structure into a base after hot waxing a scraping. This structure wears down quickly and it needs to be renewed after subsequent waxing.


Base Edge Bevel
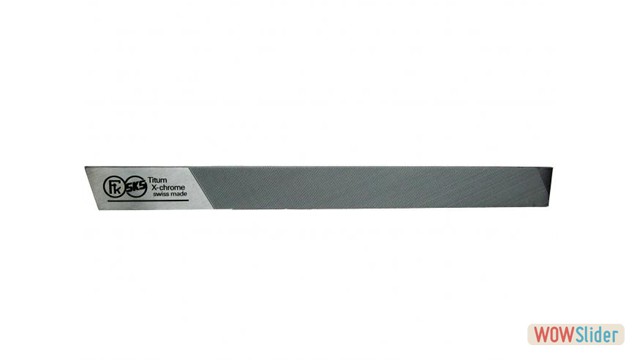
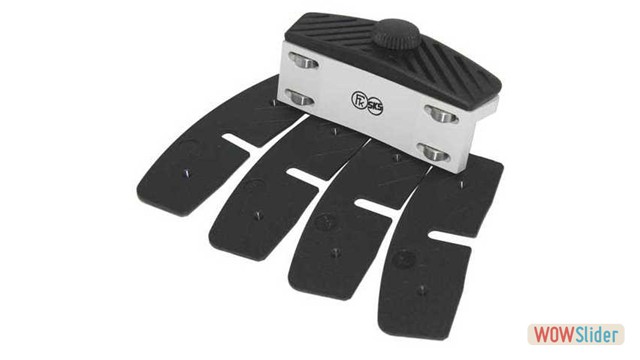
Base edge angle is beveled by titanium, X-chrome, so called Ice Cut files made in Switzerland a an aluminuim bevel guide, which is able to angle edge from 0 to 2°, in ¼ or ½ degree increments. On average, increasing base bevel helps to avoid an unexpected catch and brings about smoother and faster ride.
A bevel is chosen based on a skier’s or snowboarder’s level, riding style and slope preference. Beginners might have 1° bevel, they could use higher bevel but in case of decreasing it back you need to grind base as well. Speed skiing buffs appreciate at least ½ degree bevel, preferably ¾ or 1 degree, slalom racer kind of guys at most ½ degree (it may be combined with increased bevel at the tip and the end of a ski – 1°). The highest bevel is fitting freestylist – 1.5 or 2 degrees, an all-mountain expert 3/4 – 1°, a freerider might have 1° bevel or something variable, such as 0.5 under the binding and 2° at the ends.
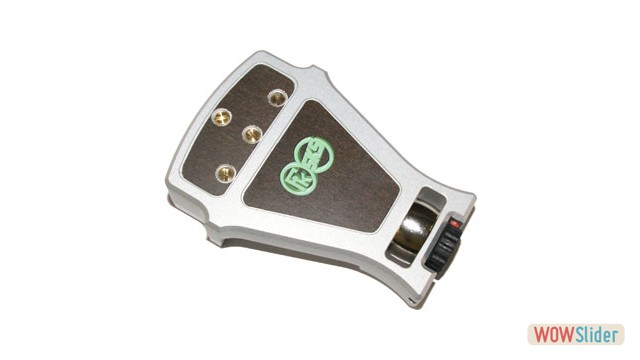 Alu Vario Base Bevelling File Guide


Side Edge Bevel
Precise, extra hard and efficient Swiss “Ice-Cut” files are used for side beveling as well in this case in combination with an alu race bevel guide. Using plastic inserts we can bevel angles 0-6 degrees (90-84°), in ½ degree increments.
The rule of thumb, the more sharp angle the less effort a skier a snowboarder needs to put in carving. Sharper bevel pays off on the iced slopes especially. The usual bevel is from 0-2°, rarely 3°, a smaller or zero bevel is used for beginners. Simply, the more advanced skier, the sharper angle can be beveled. Freestylists 0°, freeriders 1-2°, the most advanced skiers (racers) – DH 2-3° (all-mountain experts), slalom racers 3-4°. The final angle results from both, side and base bevel if applied.
 Alu Tuning Guide Racing


Edge Tuning
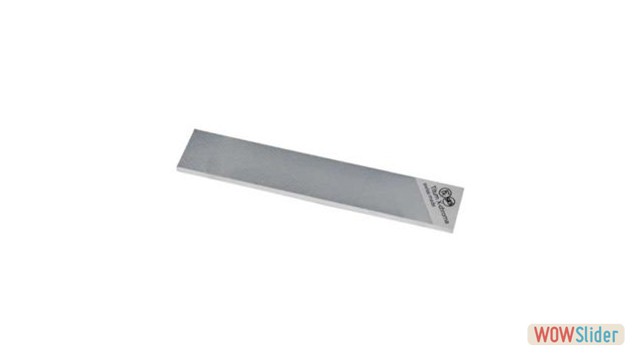
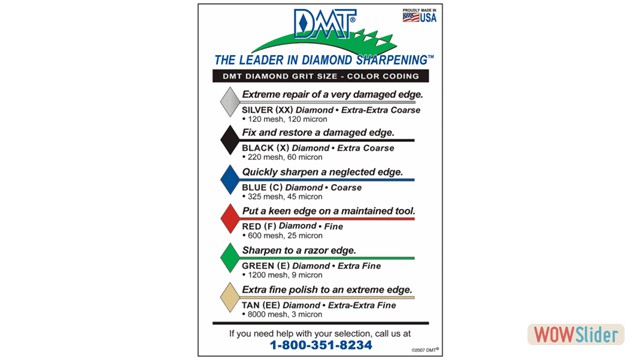
To remove nicks from ski or snowboard edges there are used extra coarse diamond files, the black – 220 grit, for less serious damage, and the grey – 120 grit, intended for deeper nicks.
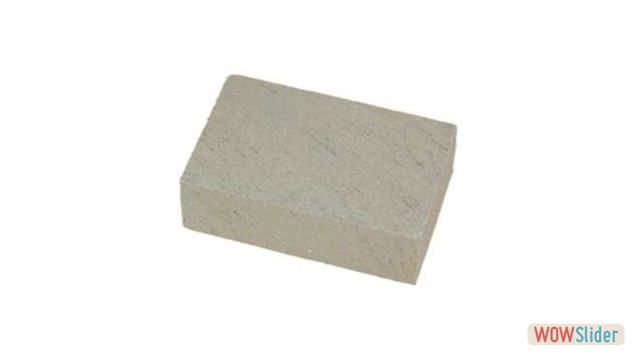
After edge beveling burrs need to be removed from edges. Coarser diamond files will execute it well, the blue – 325 grit, followed by the fine, red – 600 grit. Alternatively, we can use alu-oxide stones, the pink – 80 grit, and the blue – 150 grit. To remove rust from edges, deburr or detune edges there’s used an abrasive rubber. It used to be used to detune edges at the tip and the end of skis right after the contact points, it shall prevent skis from catching during turning initiation. Now there’s recommended base beveling instead.
Edge sharpening and polishing is done by extra fine diamond files, the green – 1,200 grit, and the yellow and brown – 2,000 grit. Even better results might be achieved by so called Arkansas stones, which come from Ouachita Mountains of Arkansas. Thanks to their true hardness and fine grit (hard 800 or translucent 1500mesh) we can produce real cutting edge.
 Alu Tuning Guide Racing


Ski & Snowboard Hot Waxing
Wax is apllied on prep – clean and open base. There’s used a glide wax based on our choice – universal for all temperatures, mostly in pink, white or orange color; yellow, red or violet for warmer or mildly cold weather, blue or green for the coldest or freezing conditions. Classic wax, mostly applied is the hydrocarbon wax based on paraffin. Another choice is the more pricey fluorocarbon wax. Somewhat like Teflon, the fluorine contained in wax reduces friction and repells water as well as dirt particles in snow and keeps ski base cleaner and faster.
Wax is melted by a ski iron, set for the temperature required by the type of picked wax (the “colder” wax the higher temperature and vice versa) and then dripped or rubbed onto a ski or snowboard base. Then the wax is ironed into the base for about three minutes, at first with quicker then with smooth, slower moves (at about 5 to 6 moves a minute). Wax left on edges is then removed with the help of the notch on a plexi scraper and skis or a board are saved for 20 – 30 minutes at a room temperature before scraping the wax off (a soft wax might be left on bases over night).
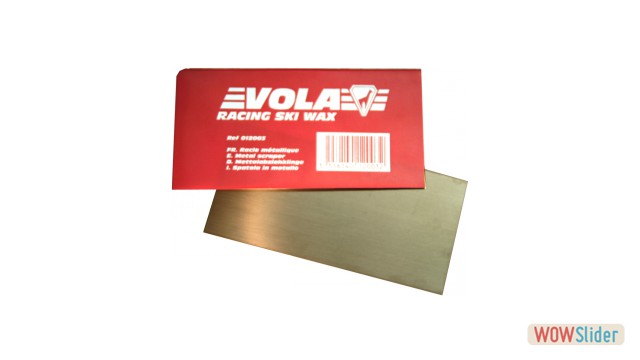
Then the wax is scraped off by a plexi scraper or a steel blade. The tools must be kept sharp by a file or a whetstone.
Finally the base is brushed by a bronze and then a nylon brush to remove the residuum of the wax and polish it. We can possibly give it a final polish by a horsehair brush or the white fibertex. Just before it there’s applied a structure by steel rollers.
Nordic kick wax application is dealt with in following chapter.
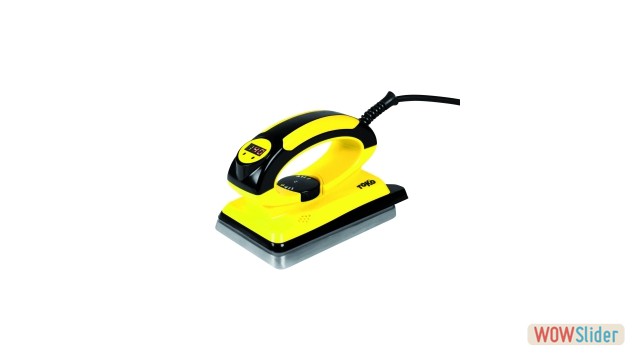 Wax Iron T14 Digital 1200W
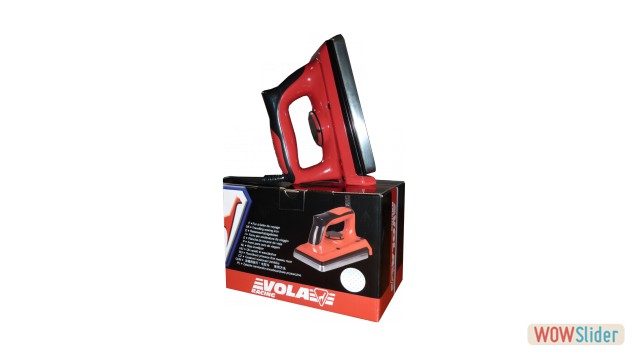


Nordic Ski Waxing
Hot waxing of XC skis with the glide wax used for free technique (skating) is executed exactly the same way as at Alpine hot waxing. What makes the difference is the using of a kick (grip) wax, which is rubbed onto the so called kick zone by a cork or a plastic scarper. The kick zone is a mid-part of a ski, ranging approximately 70 cm from the heel of the binding forward. While applying a hard kick wax the kick zone is ususally longer, beginning approx. 40 cm before the tip of the binding unlike klister waxing where it comes to just about 30 cm. Hard kick was is intended for new, finer-crystalled snow, klisters for old, coarse-crystalled snow, which has been melted and refrozen a couple of times. Both kinds of wax are available in similar temperature range like alpine ski waxes, color-coding is similar as well.
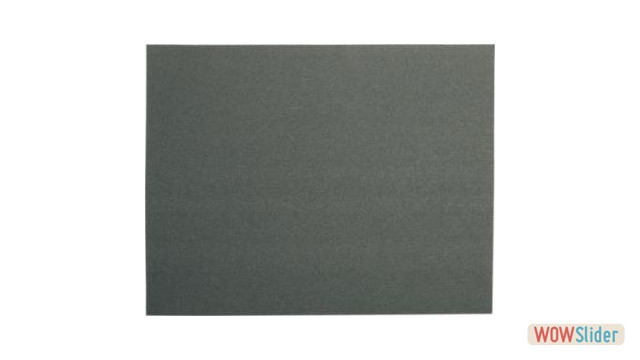
Before a grip wax application it is convenient to roughen kick zone with a fine sandpaper (100 grit) in order to improve wax absorption. Grip wax is applied in several layers and is rubbed into the kick zone using a cork with the same technique like using hot waxers – first we rub it with fast and short then long and smooth slower moves form tip to tail. Prior to a grip wax application we might use the so called binder wax, it’s optional if the snow is coarse. Similarly there may be used a base, green klister before applying a chosen klister. These gelatinous and sticky waxes are rubbed by a scraper contained in every package or by a palm of hand. Then the ski is cooled down to make it stiff.
Applying kick waxes is more complicated because they must correspond better to immediate snow conditions. Too hard wax for wet snow might cause that the skis are slipping, on the contrary, too soft wax will cause a suction and snow will stick onto the ski base.
 Wax Iron digital 1200W


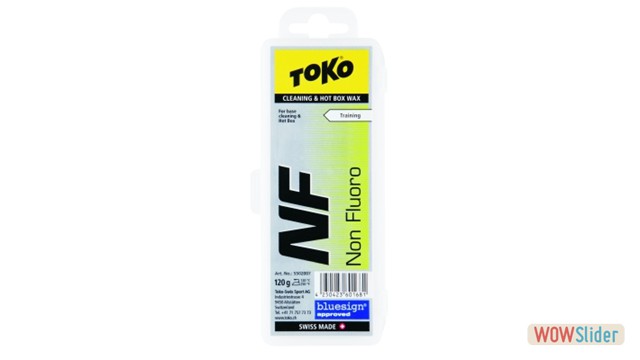
Hot Box Waxing
The more wax you apply into a ski base while waxing the faster your skis or board will be, the longer the wax will endure inside and prevent the base from oxidation as well as its damage. The classic hot wax application is good for about 60 kilometers based on the aggressiveness (abrasiveness) of the snow covering the slopes we hit. But if you immerse your skis into a hot wax bath in a special hot box or a thermobag, the wax penetration and therefore wax endurance is 5 times higher in contrast to the classic hot waxing and it will be good for at least 300 kilometers.
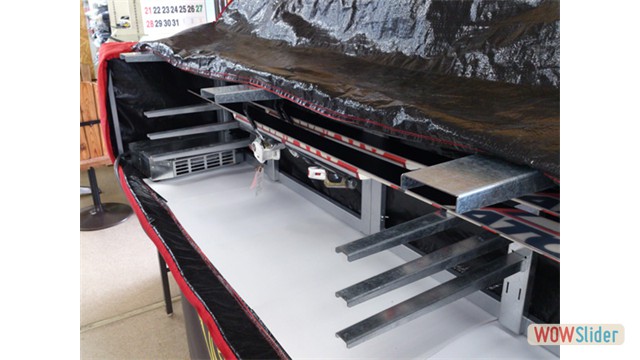
The skis are dumped in a hot box where is set a constant temperature at about 65 degrees centigrade (140 Fahrenheit). This allows the special high quality base prep soft paraffin (melting at 63.5 °C) applied before penetrate deeply into the ski base. After switching off the heat source, the temperature inside the wax chamber falls slowly which adds to the wax penetration much more than in case the base was exposed to the immediate fall of the temperature based on the the room or outside conditions.
The hot wax bath is followed by ironing extremely hard (cold) wax the task of which is to hold the soft hot box paraffin inside the base as long as it gets. This wax protects the base effectively from oxidation or damage. After scraping off this cold wax there is applied a regular, either universal or a wax based on the temperature of the day (hydrocarbon or fluoro). To make the whole waxing process even more effective we might dump the skis or the board inside the hot box after each application of wax and allow each layer to penetrate deeper inside the base.
Such a penetration is five times more effective and it allows you to ski at least 300 km of slopes without need of rewaxing. For an average skier who usually doesn’t spend skiing more than five days a year it means to pay just one visit to a ski service a have the skis waxed for as much as the whole season. Such a ski buff like me who spends every possible day out there on the slopes have enough wax for at least five days of intensive skiing without need to bother with waxing skis in a local cubby-hole. To refresh the edge sharpness will suffice.
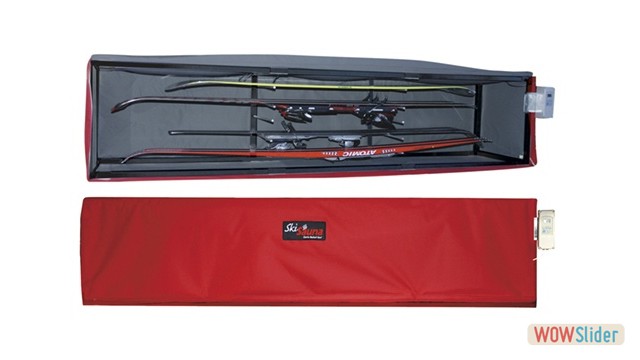
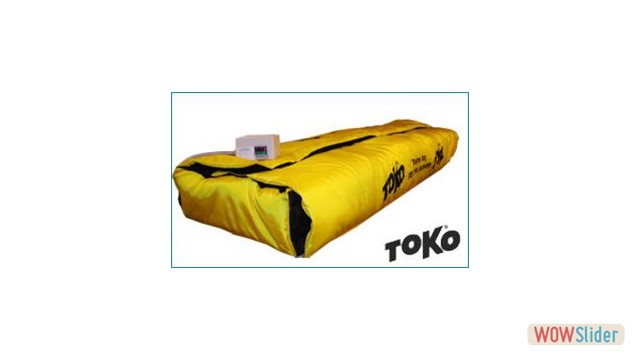 Toko Thermal Bag
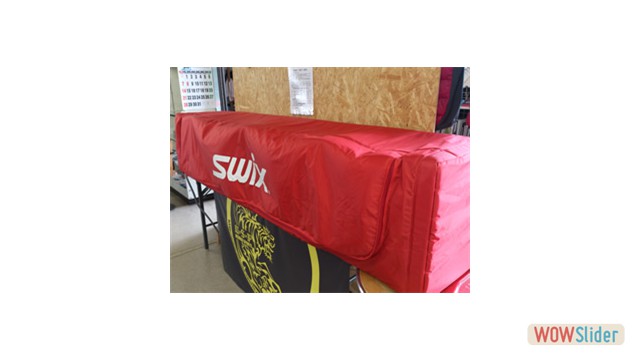


Base Gouge Repair
P-tex Melting
Minor gouges in ski bases are repaired by melting p-tex strips or strings using a special gas or electric powered repair (soldering) iron. The gouge is cleaned and deburred at first.
A deeper gouge or a core shot will be filled with finer p-tex ribbons made of stuff which is similar to the sintered bases and is capable of wax absorption. Before melting p-tex with a soldering iron a piece of fabrics such as linen sheet is glued into the gouge by an epoxy adhesive. It will assure stronger bond.
If the gouge is somewhere near a steel edge of a ski or a snowboard, we will melt copolymer (metal grip string) into it first. This material is made of polyethylene with rubber-like admixture and bonds to steel. The classic p-tex is melted atop it.
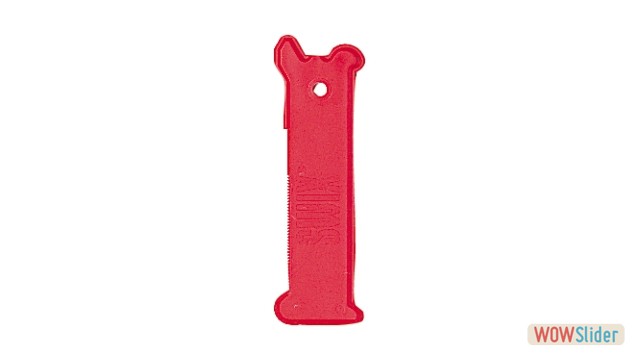
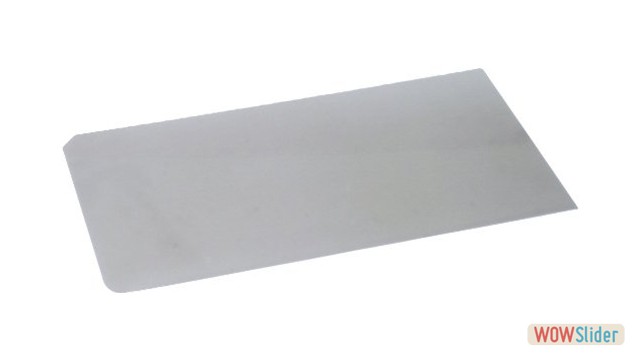
Because we always overfill a gouge with p-tex a little, after cooling it down we must shave off the excess. Here comes in a Versaplane tool with surform blade. Unlike a steel (metal) scraper it’s sharp enough to shave off just the excess not to grab it and yank it out the gouge. The steel (metal) scraper is used afterwards to make the repaired spot flush with the rest of the base. Then procedures like ski base cleaning, flattening, structuring, edge tuning and waxing follow.
Dripping P-tex
Temporary ski or snowboard repairs could be made with P-tex repair candles which are lit and dripped into a gouge. The esxcess is then removed and made flush with a base using glasspaper or silicon carbide or aluminum oxide type of sandpaper. This repair is the least complicated, but the least durable as well. On top of it, once burnt p-tex is no longer able to absorb wax.
Ironing Graphite Powder
It’s fast, easy but durable way to repair a larger but shallow gouged area on a ski or a snowboard base. Graphite powder is simply shaken out of the container into a gouge overfilling it a little and then a wax iron set to an appropriate temperature is set on top of it for 15 to 20 seconds. To avoid burning a base orruining your waxer there is put a special foil underneathe the iron. The base is then made flush the same way like with previously mentioned kinds of repair. Unlike dripping this repair is more durable and the graphite powdered p-tex is finer material able to absorb wax after melting.
Base Patches Gluing
If the repaired area is larger the spot could be replaced by ski base patches made of the same high-quality sintered p-tex as well as the ski bases itself. It’s glued into a spot by an adhesive based on epoxy resin. The patch is cut out by a special steel template in order to fit precisely the opening in a base which is cut out by the template as well overlaying the repaired spot. The base must be then flattened by alu-oxide stone and steel blade.
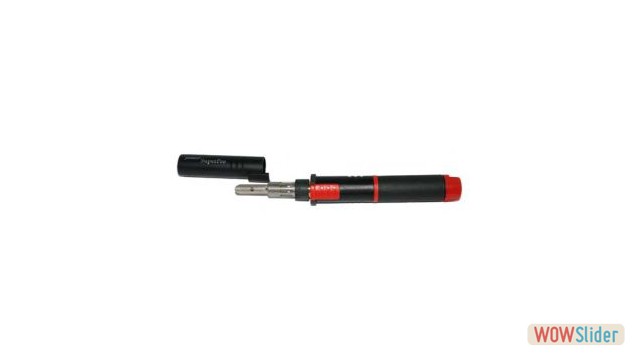 Base Doc II - gas soldering iron


Ski & Snowboard Repairs
Edge Replacement
The damaged edge section is cut off at the 45-degree angle to help hold the replacement in place. The spot under the replacement must be flattened. In an epoxy used for the edge glueing could be admixtured steel wool cut in pieces in order that the steel edge section bond better. The edge replacement is secured by screws and after the epoxy cures (overnight) the screw heads are cut off carefully and the rest grinded until flush with edge tabs. Then a base patch might be glued in if needed.
Top Repair
An epoxy adhesive might do the job. A hole or a nick in the top of your ski or snowboard is filled with the adhesive and after curing the spot is made flush with the gear top by a sandpaper of different grit.
Binding Repair
To repair a stripped out a ski or snowboard binding screw we have several options. The first aid is to blend steel wool into an epoxy and reinstall the screw. Another way is to hammer wooden plug into the hole (redrill it first if needed) and then to redrill and reinstall the screw. Probably tho most solid way is to drill 8-11 mm hole and insert a plastic or a brass plug into it and reinstall the screw.
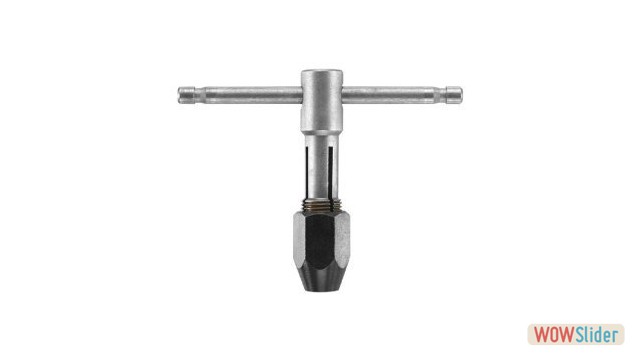
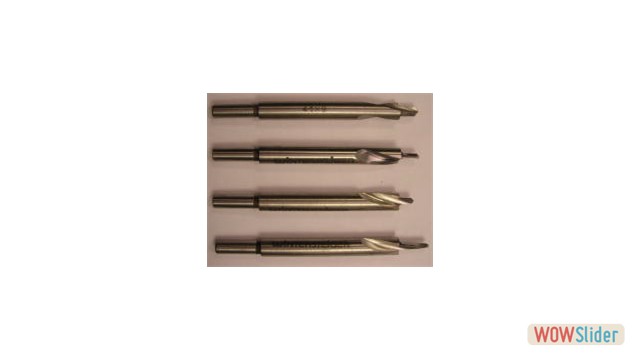 Drill Bits for Alpine and Nordic Skis


Spring ski & snowboard maintenance
As soon as the turn of winter and spring comes, the milder winter (spring) weather is worsening skiing conditions. Hand in hand with that comes the need to take proper care of your skis, alpine or Nordic, or a snowboard. Simply saying, it’s harder to slide down a soft, watery piste than a hard piste covered with frozen snow. Whereas on the hard piste we needed to brake our skis or good edge grip while turning which takes regular edge polishing along with well-chosen bevelling, the soft piste requires something which will accelerate our slide (or ascending on XC skis). The quickly melting spring snow will leave redundant water on ski or snowboard base and it must be taken away (see the chapter on base structuring). Apart from regular and appropriate waxing it will be ensured by applying coarser structure on the ski or snowboard base. This will prevent suction which is essential when we want not only slide but ascend on our skis while running. Timely restructuring through stone grinding will guarantee that our skis or snowboard will be easy to handle and fairly fast as it was on real winter, frozen piste.